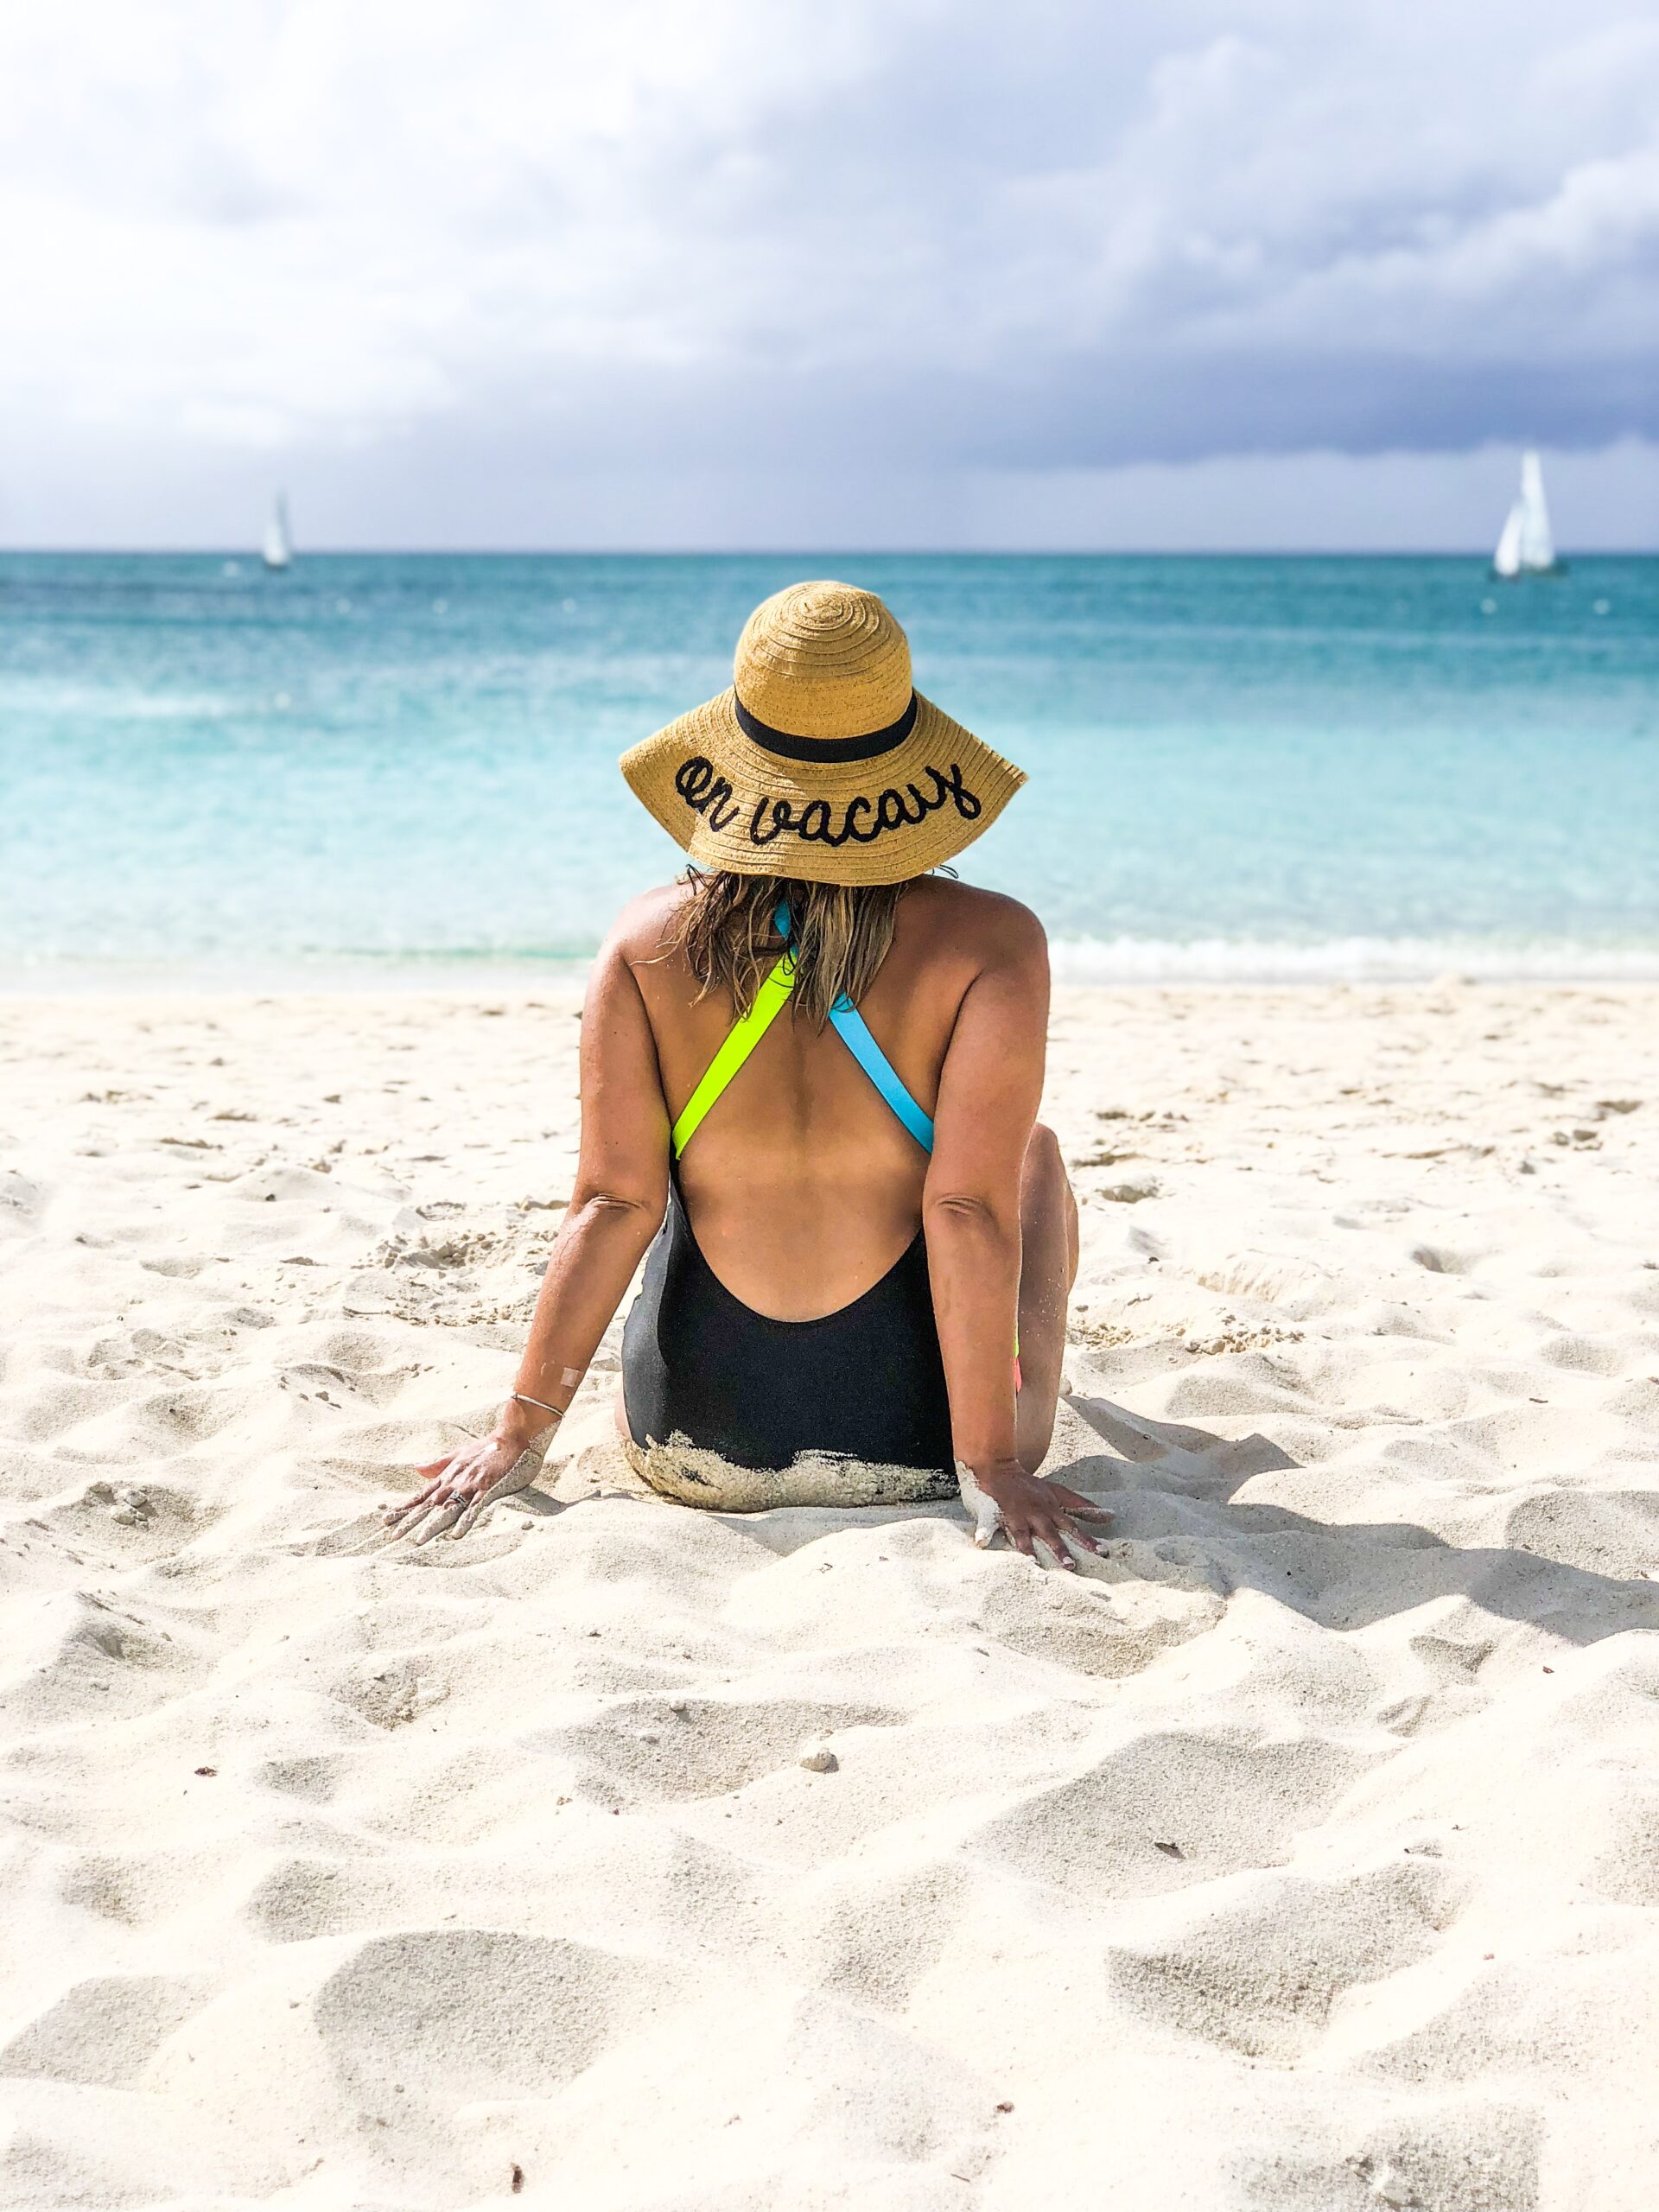
DIY Mother Daughter Sun Hats
I feel like we have all been there… trying to figure out how make something unique for yourself or your child, but not having a clue where to start. You think to yourself “I’m not creative, I’d rather buy it!” Sometimes you just need to go for it, because its as simple as a little patience and elbow grease and it’ll be a masterpiece, promise!
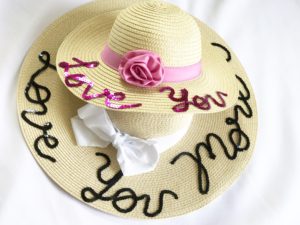
I purchased these hats for myself and my amazing daughter Coco last year. I kept telling myself I was going to bedazzle them. (I was born in the 80s… am I giving that away? HA!) As crafty as I claim to be, I was afraid they wouldn’t come out the way I wanted them to, so I kept putting the project aside. A few weeks ago I came across the sequin at Michaels and I purchased them. It was by chance, and that was enough for me to make these adorable hats… after all, IT WAS A SIGN! DUH!
I thought I’d share with you where I purchased these adorable hats, how I added the sequin words, and how absolutely adorable they look on!
Coco’s floppy straw sunhat was purchased last year at Gymboree. Although, they no longer carry it, I have added a link below to Old Navy who has a similar one.
My floppy straw sunhat was purchased at Joann Fabrics and I used a 50% off coupon on it, last year as well. Although, I can not find it on their website, you may still have an option to purchase it in the store. If not, I have added a link below to Old Navy who has a similar one.
The sequin ribbon was purchased at Michaels for $.99. I have added a link to Michaels, although their website only has limited colors. Visit the store for more color options!
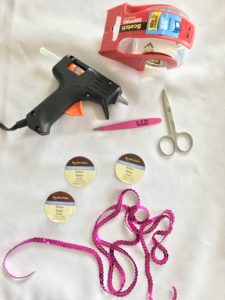
Here is what I used:
- Adult Straw Sun Hat
- Toddler Straw Sun Hat
- Glue Gun
- Glue Gun Glue
- (1) Pink 6mm Recollections Ribbon (15/64 x 4ft)
- (2) Black 6mm Recollections Ribbon (15/64 x 4ft)
- Small Scissors
- Tape (of any kind really)
- Tweezers
I initially used a fabric pencil to write out the words on the hat, then I realized I didn’t like having to trace letters with the sequin. Although, it is a good idea, it didn’t work for me. Definitely try it out and see if it works for you!
Since that didn’t work for me, I just took the end of the sequin ribbon and taped it to where I wanted the first letter to begin. I then began to write out the letters with the sequin so I had a better idea of where each word would be placed and if it would be centered or not. I had to do this since each hat already has ribbon sewn on to it, so I had to make sure it was centered. You won’t have this issue if the hats you purchase are plain. (Tip: I’d purchase them plain if I were you! You can always add the ribbon of your choice on the hat later.)
Once I knew where each word would be placed I took the sequin ribbon off and proceeded with my glue gun writing out each letter. As you know the glue gun glue dries extremely quick, so with the glue I wrote out half of each letter and then placed the ribbon on and pressed down lightly. (Tip: I would use the tweezers to remove an excess glue after I have pressed down with the sequin. It is easy to get globs of glue out of the glue gun, so be careful applying it.) I continued to do so for the remainder of each word. I was lucky enough to get “love you” on my hat out of one spool. At the end of that spool I cut it with the small scissors and glued the end down well enough so the sequin wouldn’t fall apart. At the start of each word I used the tape to hold down the first letter. I would eventually go back and glue that end down, I just liked knowing I could remove the tape if I didn’t like how it looked before it was glued down. (Commitment issues?) I continued these steps throughout the rest of my hat and Coco’s. I let the glue set overnight to make sure it was completely dry before wearing the hats andddd that’s it!
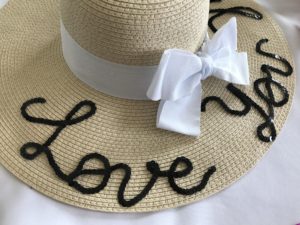
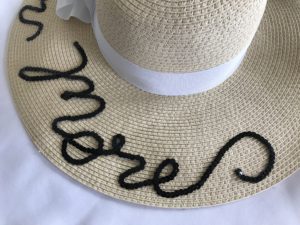
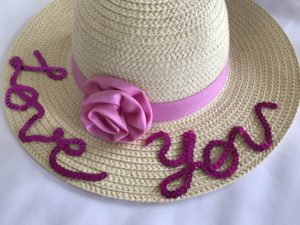
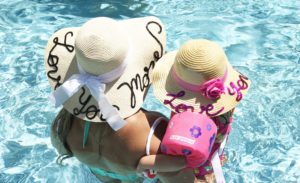
Here is the finished product in an ever so Instagram worthy photo of my sweet angel Coco and I today in our pool. Photo courtesy of my girl friend Lindsay over @lawadelton. Go check her out & follow!!
![]()

