DIY Dollar Tree Skull Decor
Inspired by Stephanie Hanna Blog, I am going to show you this incredible Dollar Tree DIY! For just a few dollars, these skulls can be purchased and painted to your liking for a touch of sweet Halloween decor!
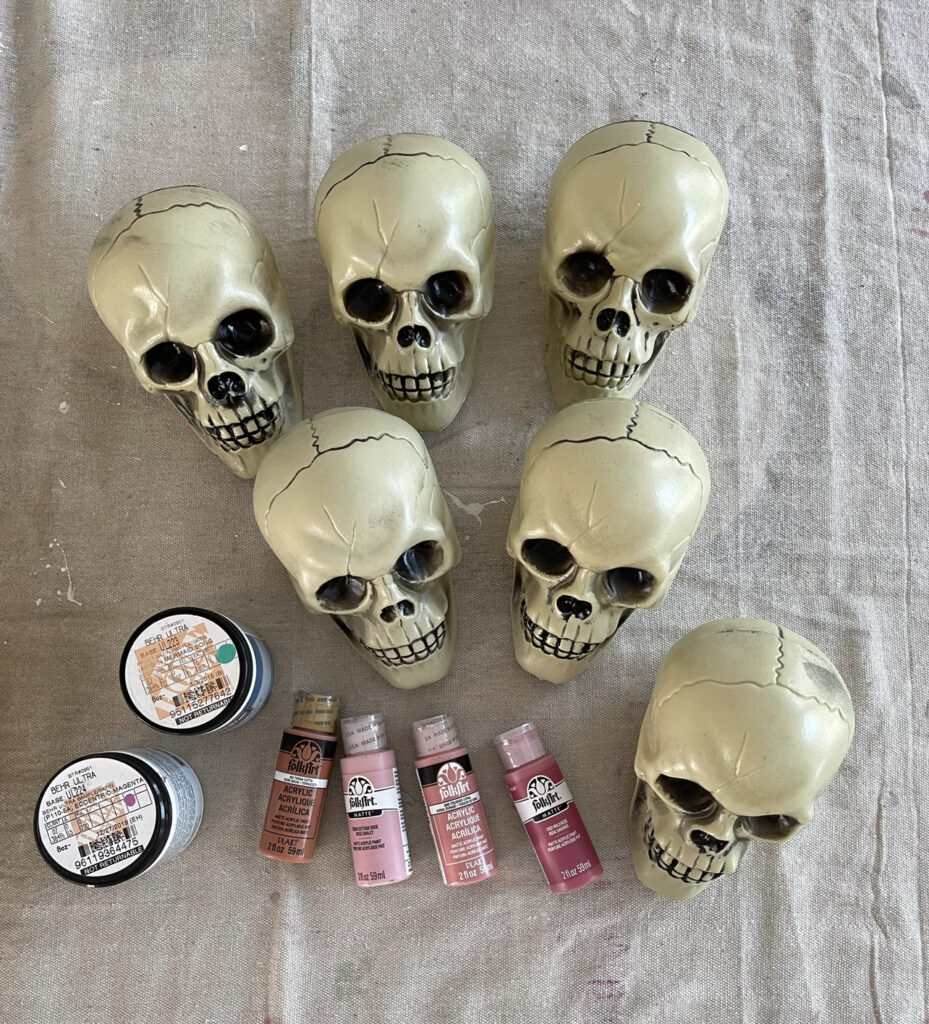
I started out by purchasing 6 skulls for $1 each from the Dollar Tree. I had some paint laying around so I used a few from Behr, and some from Hobby Lobby ($1.25 each). You can use Dollar Tree paints, too! They’re fantastic!
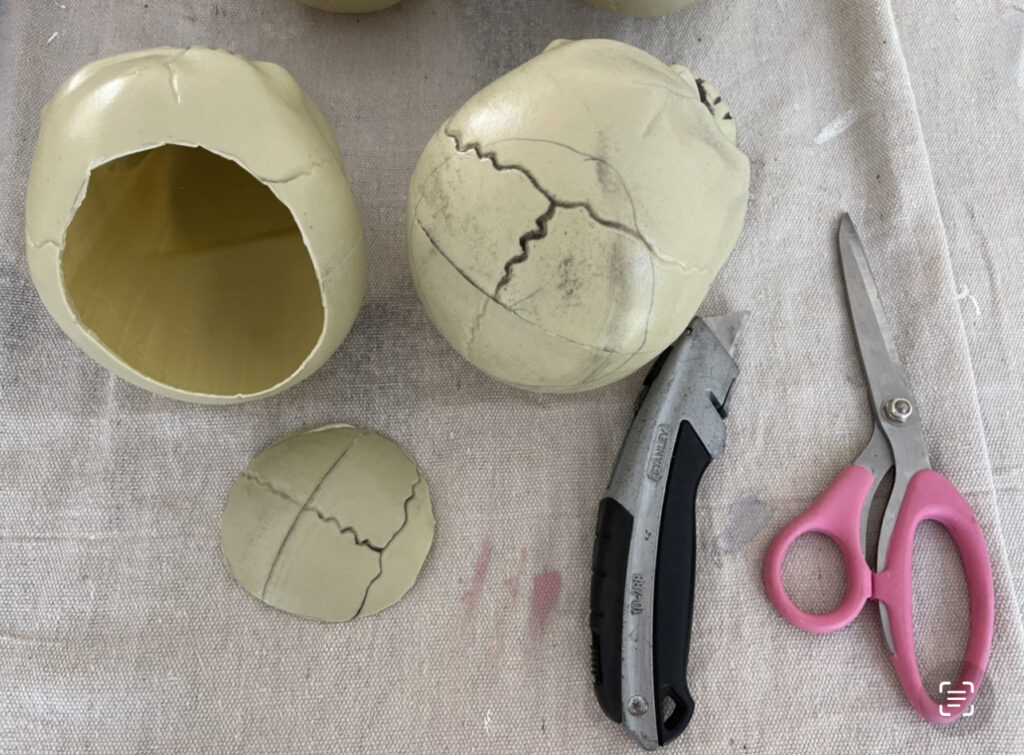
I took a sharpie and made circles around the head. That is where the flowers of your choice will sit. I used the box cutter to cut make the hole and cut around a bit, then used the scissors to finish it off. It was very easy to do and was not time consuming at all. Just BE CAREFUL!
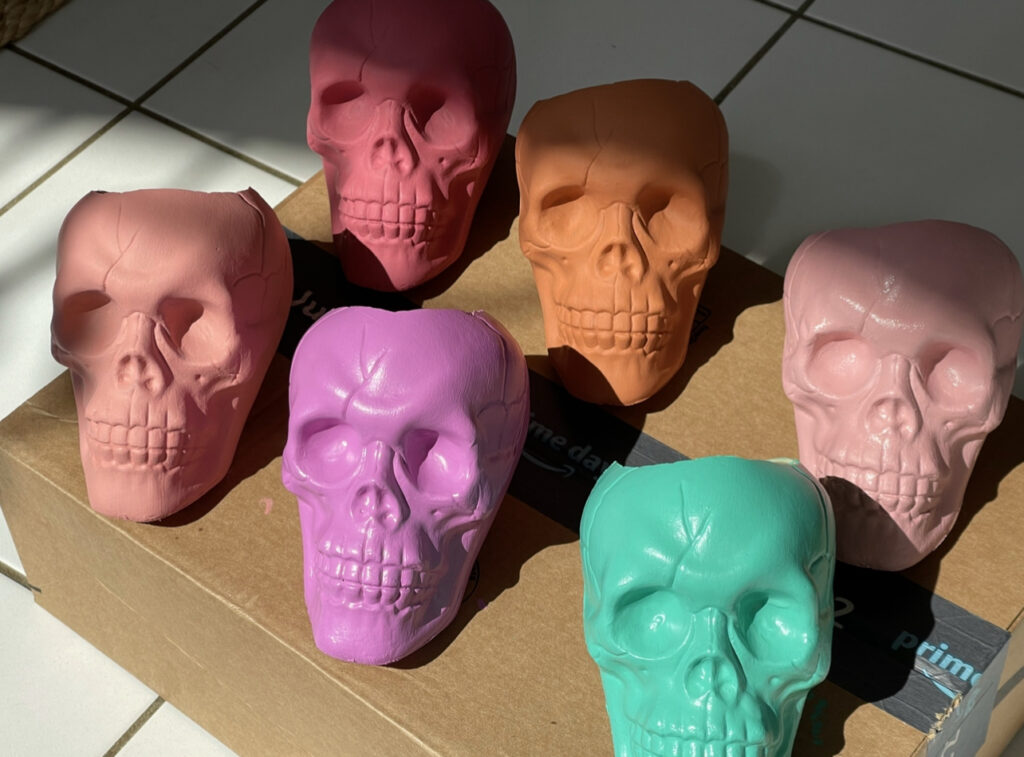
I then used a sponge brushes (Dollar Tree has a pack for $1) and painted each skull three times, letting each one sit in the sun for 5-10 minutes to dry. They dried very quickly. Depending on the paint you use, it may take a bit longer to dry, just make sure it’s dry before you start your second coat. I did 3 coats, because I wanted it to be very opaque.
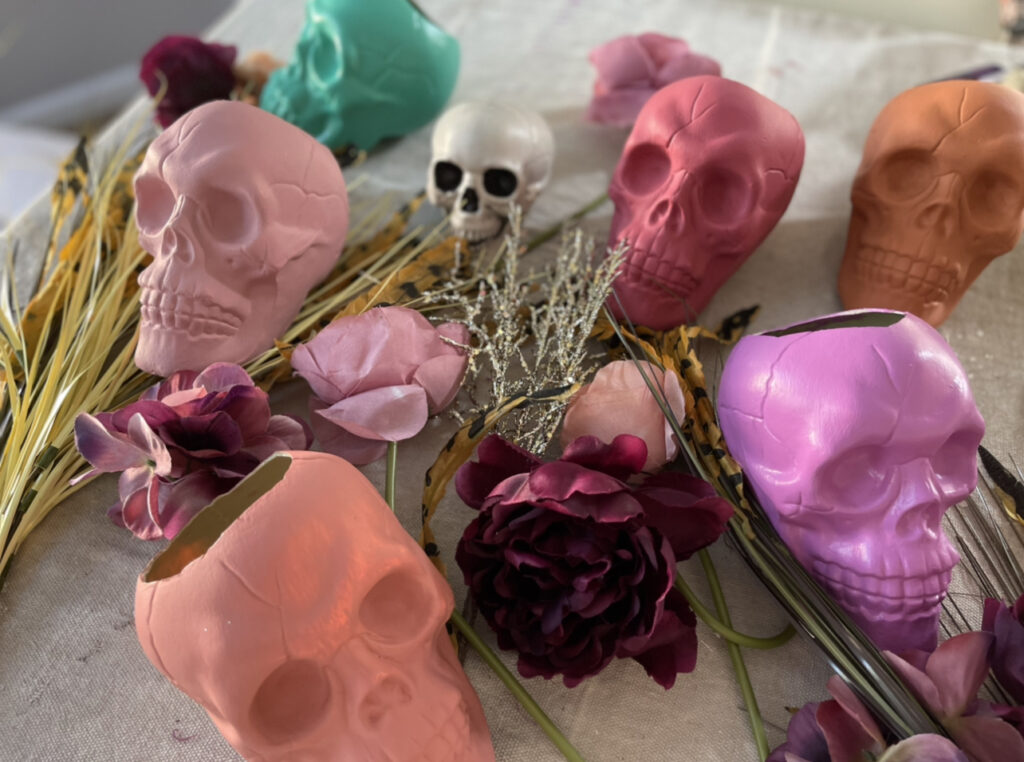
The “flowers” I chose were these feathered sprigs from Dollar Tree. That was the most expensive part, as I wanted them to fill the entire skull and look very sprout-y. I sound so silly HA! I don’t know the proper terminology for the kind of flowers I used nor how to describe the look, forgive me. lol Once they were dried I added the flowers and put them on my fireplace mantle.
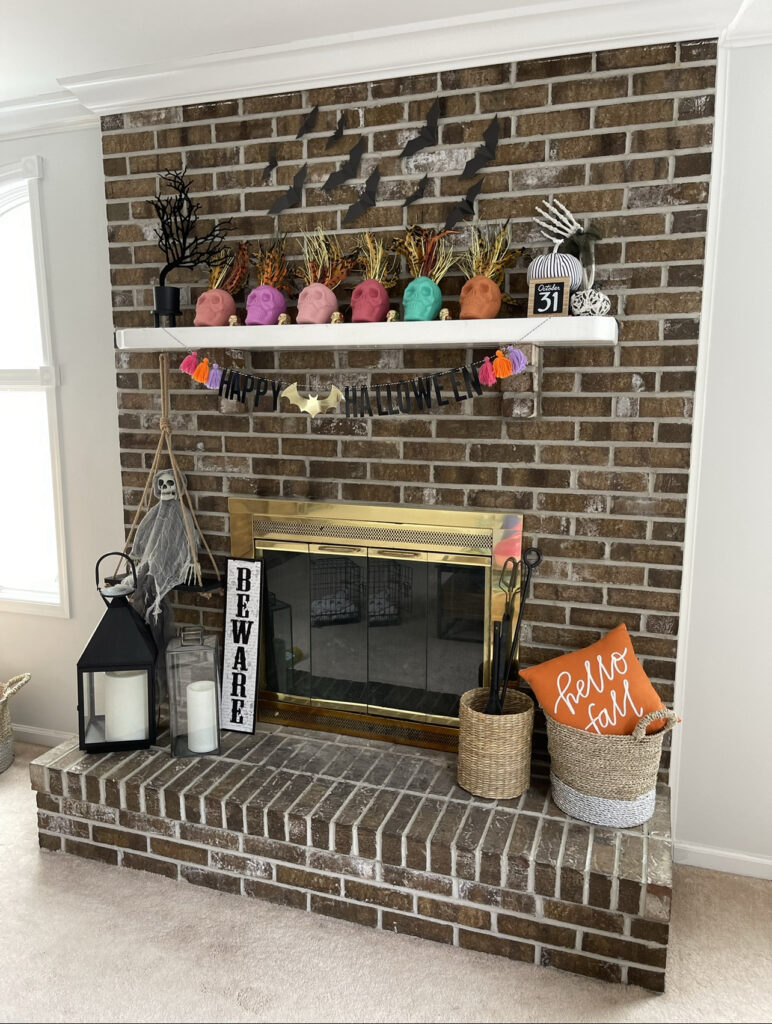
I’m OBSESSED at how it turned out! I can’t wait to use them year after year!
Thank you for stopping by! Don’t forget to subscribe to my newsletter and follow me on all social media platforms to keep up to date with my latest fashion finds and DIYs!
![]()

